In my next game I wanted to try Palpatine because he is a great counter to wookies but does struggle against armour. My opponent Aleks has been playing a while and has recently got bored of playing Empire so decided to switch to rebels.
My List

I’ve played Palatine before I took him to Euros before covid and went 3-1. I do enjoy the long game of waiting till turn 5/6 to go from losing to a win. Anger is stapled to him, but I thought why not try out Force Lift since I’ve never used it before. Force barrier seems like a good idea since I wanted to try something other than burst of speed. Aggressive Tactics along with Force Barrier should mean my troops stay alive longer so can kill more.
Gideon is there to help give out the extra orders on the lower pips. With him wanting to be closer for the shots means the unit is most likely to be closer to Palp. If a rogue shot does get through and hit him to be able to heal him back up to make that 1 pip hit for max value. The other two squads of shores are good value since the aims and aggressive tactics combo together. Also, the critical is the only thing I have to help against armour.
The snipers are just activation padding. While the IRG are there to protect Palp and the shores where they guardian every attack. The intention is not to charge them up the bored into melee.
Aleks List
Now on paper this list contains many things that I will struggle with. Sabine is great against armies that group up and I want to be close to my IRG and Palp. The Mandalorians never ever ever die even with pierce. His list also contains armour which my list will struggle with. The naked rebels and fleet troopers are activation padding on his side. After playing against Rebel Veterans and the blaster fire supporting at the weekend, this was a combo to look out for as well. Palp is going to have a lot of work to do to be able win this game.
Turn 0

Alek decided to blue and use his deck while I chose to keep the table side I was stood on. Alek didn’t want hostile environment for his first ban. With the way I want to play this Palp army all close together and shooting together making it easier to take out the T-47 I banned disarray. Alek banned Rapid reinforcements hoping to cut my gunlines line of sight. I was happy with the deployment and the objective so took advantage of the new rules and banned Limited Visibility.
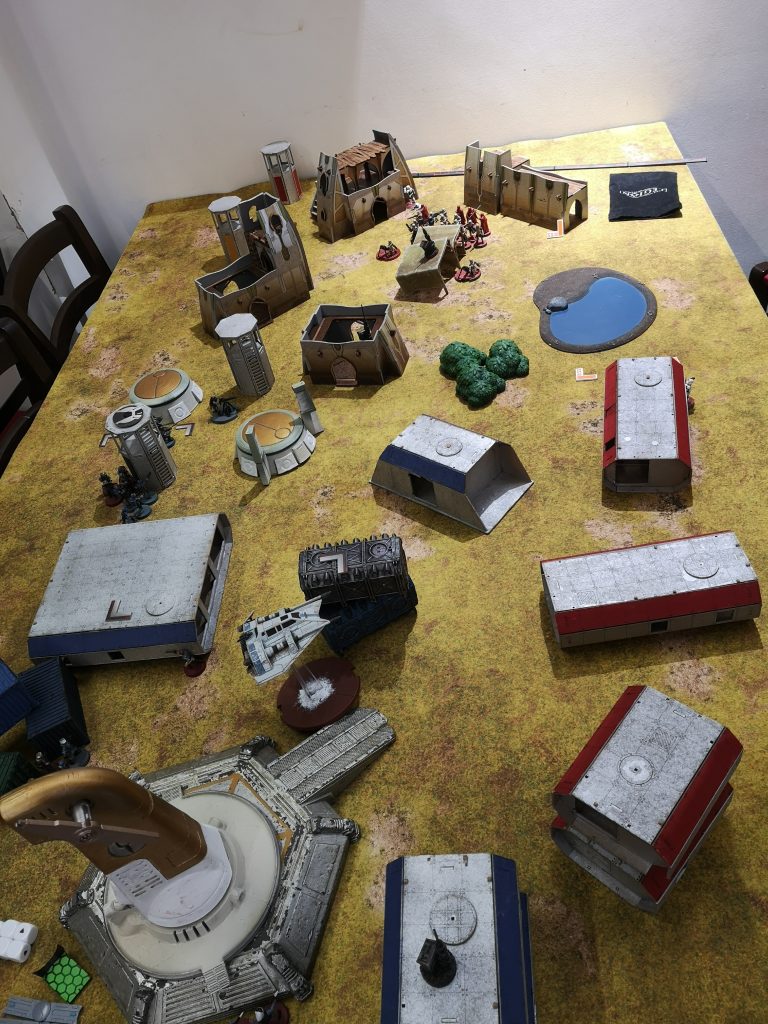
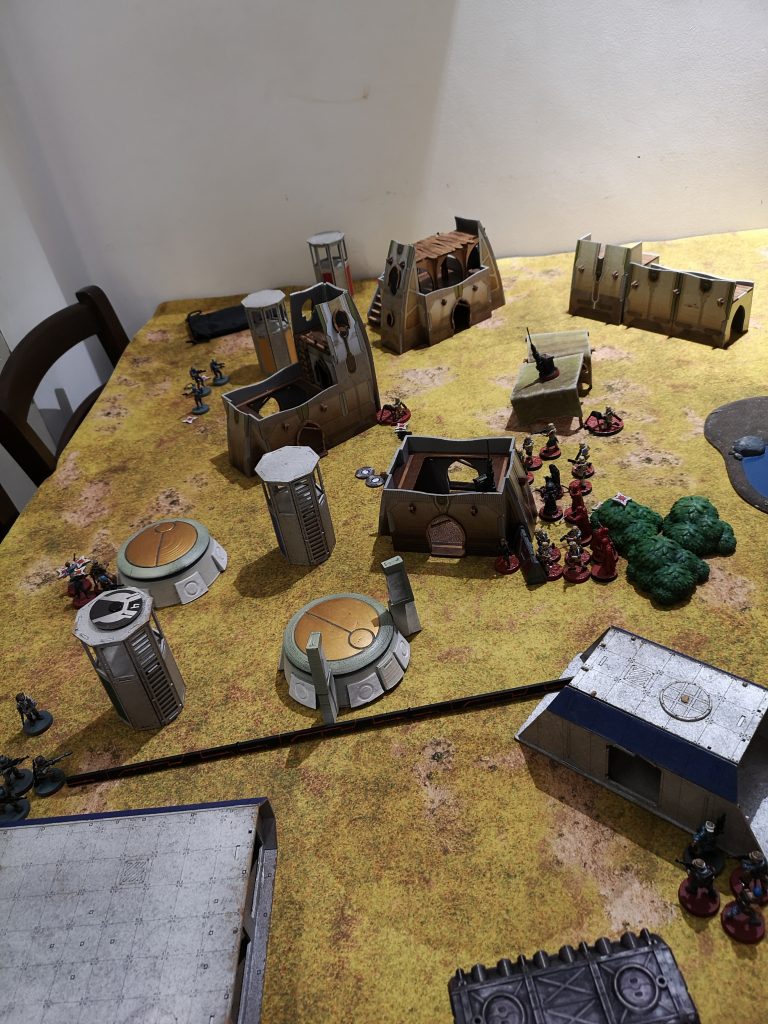
For Aleks home key position he picked a container building close to his deployment. He deployed some fleets ready to keep that. I picked some light cover market stand as close to the centre as possible to help Palp look after both.
Turn 1
Standing Orders vs Coordinated Fire
I wanted to try and shoot as much as I could turn 1. While Alek decided to give his veterans and the turret an order. Going first I moved some shores up and took a range 4 shot. All they got was a single crit for him to save it. Alex decided to go with this unit straight away. He moved them away from me and out of line of sight and range of the rest of my army. This was not good start for me. His turret was hidden behind a centre tower preventing me from shooting him as well. The entire rebel army was hidden, and I had played an aggressive card that was not going to get any pay out.
Alek did pull his speeder earlier then he had wanted. He still managed to one shot a unit of snipers I had deployed down to the left on their own. In return I managed to do 4 wounds with my army moving and shooting at range 4.
Aleks moved Sabine and the mandos with double moves along the top edge of the board. Managing to keep out of sight of my whole army. While the naked fleets moved to where they would stay for the rest of the game. The other naked rebels and Leia moved the long way to the centre but staying out of sight.
Turn 2
Explosions! vs An Entire Legion
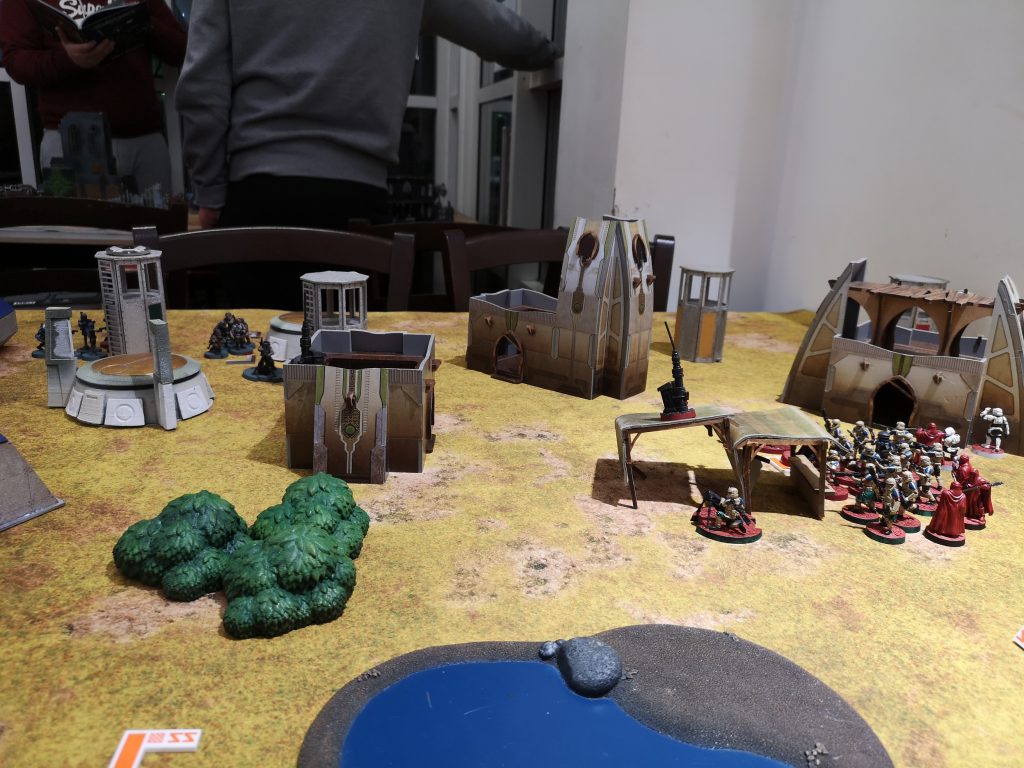
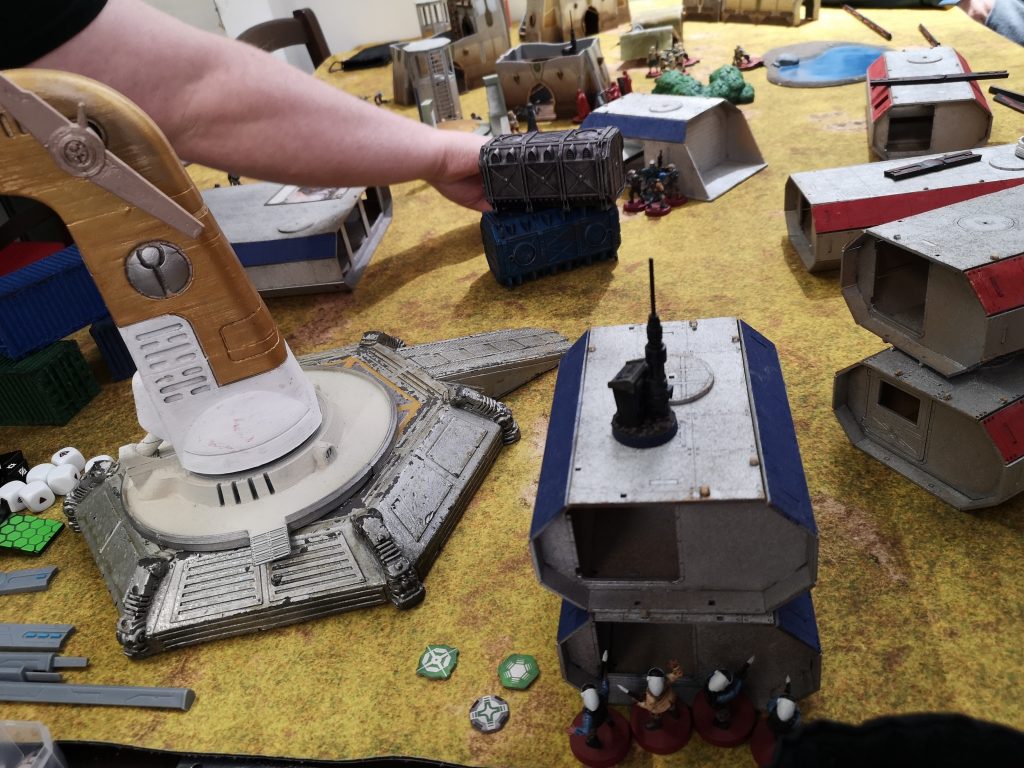
The T-47 was fast approaching my lines and I needed to finish it off. At the same time my army was also very clumped up so if these bombs hit was going to hurt a lot. Sabine did not hang about and decided to move straight towards me and throw her bombs down! Fortunately for me the bombs being placed at max range could only hit two units at the moment. 1 mortar and Gideons squads of shore troopers where at risk. After doing the speed 1 retreat as far as she could behind the closest building. Aleks decided not to blow up the bombs! We talked about this a lot. I think he played the card a turn earlier than I expected due to the distance. Moving and waiting another turn I think he could have hit 6+ units. We did agree where he had placed them meant he had created a zone where I could not approach his army or the middle objective and had to go around it.
With the bombs being placed I started with the shore troopers. They moved and fired to get range 3 shots at the T-47 hoping to kill it before it activated. It took both units of shores and 1 mortar to kill it. With the next activation for the rebels being the T-47 as luck would always have it. After dealing with the T-47 I was safe to move Gideon out of range of the bomb. This let me take a range 3 shot at Sabine in heavy cover managing to do 1 wound. The rest of my army started moving towards the middle and away from the mandos flanking.
The rest of the rebel force was keeping out of sight of being shot. This also meant they didn’t have any chance of killing anything. Hoping to be able to pile onto the middle objective at the last minute.
Turn 3
Legacy Of Mandalore vs Push

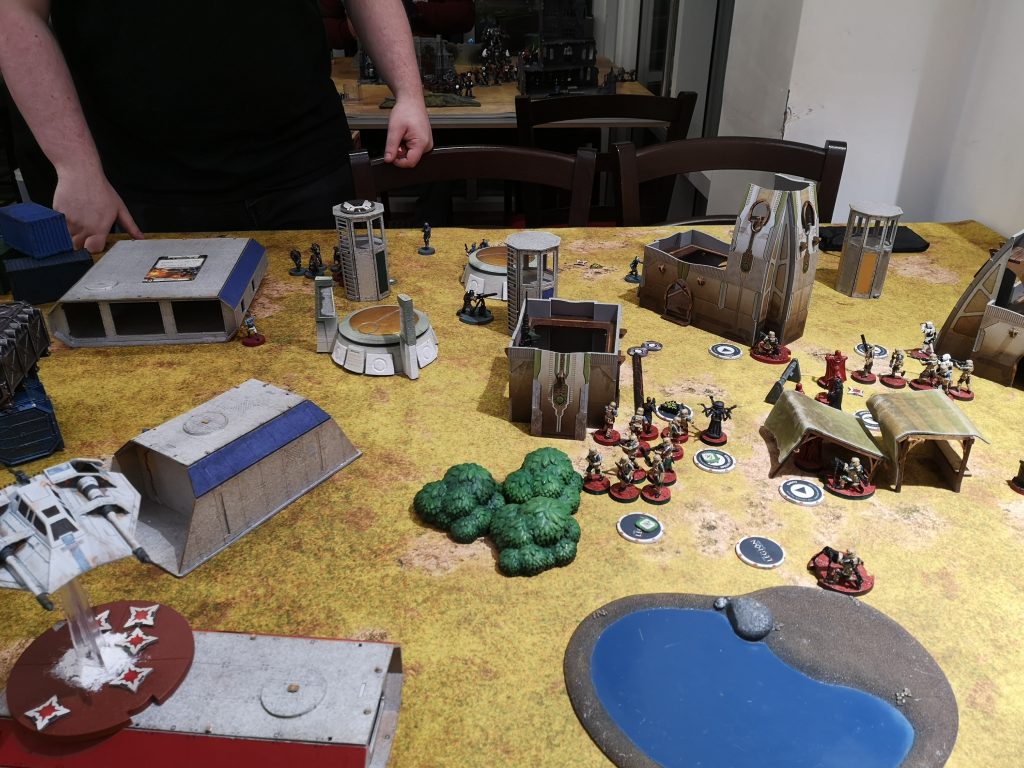
This turn with push enables me to give orders to all the shores. Leaving just Palp and the snipers in the bag. With Sabine and a unit of mando’s on my right flank they were my main objective to shoot this turn. With a unit of shores, the first attack scored 1 hit even with the aim! Palp saved the day though with pull the strings on the same unit. They shot the mandos in heavy cover and scored 5 hits and the mandos failed all 3 saves! Sabine took her revenge killing the sniper team and 2 of the shores from that squad. While clan wren also helped kill 2 more shore troopers. The rest of the rebel army and Leia carried on hiding.
Turn 4
No Time for Sorrows vs Ambush
I wanted to go first this turn since I had a chance of shooting Leia. Moving my shores around sabines bombs that were keeping me from shooting the rebel army. Sabine and clan wren got the free move and moved to be safe behind the building from my whole army. I only managed to put 3 wounds on her before she moved behind the building. Sabine cleaned up the lone shore trooper. The lone mando went and hid behind a building within 2 speed 3 moves of my back key position. In response I had to position one of mortar’s so he was able to double move to my back objective if needed. The rest of my army was sitting touching the middle objective. Ready to shoot any rebel scum who popped their heads out.
Turn 5
Symbol of the rebellion vs Give into your anger

I decided to use give into your anger on Leia. Hoping if he chooses not to attack that with a mortar I could suppress and panic her off the board. He chose to move forward and shoot the mortar on one health but got 3 blank black dice. This was the start of Aleks dice not going well this turn. With the mortar who survived, and Gideon managed to do the 3 remaining wounds to Leia. The shores took a shot at sabine in heavy cover scoring 6 hits. Alex decided not to spend the shield and just roll the 4 dice….

Turn 6
Somebody Has To Save Our Skins vs And Now You Will DIE!
With me having Palp, IRG and Gideon either already touching the centre KP or within 1 move. Also having 1 mortar and shore trooper unit able to move to the centre KP or my back objective. Having extra activations over Aleks at this point meant that Palp could zap any units that decided to try and contest either of my objectives. At this point realising if I didn’t attack any units. I would be able to still outnumber Aleks on both the objectives. We called it 2-1 victory to me.
Summary
This game was great and fun to play against Aleks. Unfortunately there was some key points where the dice swung the game massively in my favour. There was a dice roll I can think of or remember were it happened for Aleks. We talked at the end of the game and discussed that turn 2 explosions move. We both agreed that was a turn too early with hindsight. Aleks showed some amazing patience with his units waiting and hiding and not popping out till the last turn. If he had been able to also keep his mandos alive and not blank out on the defence. He might have been able to contest objectives more at the end. My fire power would of been more hampered from the bigger explosions turn. It was nice to put palp on the table again. I did feel like he controlled the board very well and the armour was not a huge issue. But maybe if there was more it is something to worry about for this list. I didn’t feel like force barrier had any real impact in the game while barrier was used twice.
I’ll be running this list again to see if I just got lucky or if this list can work.